How Can We Help?
PlasTeak Installation Guide
First thing to consider when installing PlasTEAK in lengths longer than 5ft is the installation temperature. Because PlasTEAK will expand and contract with temperature change (up to a ¼” in a 50 degree change), the installation temperature would ideally be around 65-70 degrees. You need to consider the climate where you live and think of the median temperature.
Pre-drill all fasteners and over-size the holes. We recommend that the threads of the fastener be sloppy in the pass-through hole, but the head of the fastener will still be able to pull the material down to secure.
Use a good marine sealant on penetrations through the fiberglass of your boat. Nothing will bond to PlasTEAK, but it will form a good gasket between the materials to keep water from penetrating.
DO NOT OVER-TIGHTEN THE FASTENER!! When you tighten screws or bolts, we recommend that you loosen the fastener ¼ of a turn to release a little pressure off of the PlasTEAK material. This will allow the material to move a little with expansion and contraction.
FLEXIBILITY – PlasTeak lumber is about 3 times more flexible than real teak, so when used in structural applications like a bow pulpit, we reinforce with stainless steel. When we replace ladder steps that are 7/8” or 1” in real teak, we will use 1-3/8” or 1-1/2” thickness to prevent deflection in the center when standing on them. In some cases, we have seen ladders that have stainless supports under the full width of the ladder step pad, which then you could use the same thickness as the original teak. Our rounded 2×4 profile makes for a strong and eye appealing ladder step.
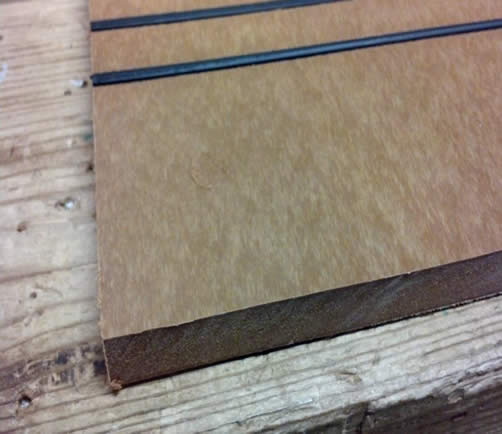
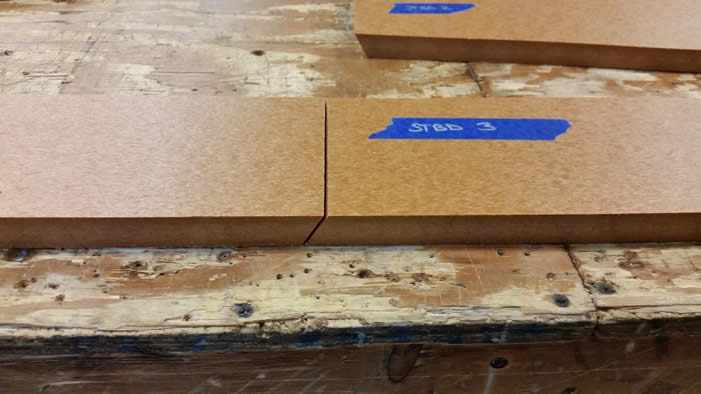
SPLICING/JOINING – If you are installing lengths longer than our standard length of 12ft, you will be wondering how to join separate lengths together. Since expansion & contraction can be extreme depending on your location, we recommend an overlap joint (see below). The picture shows two pieces cut at a 45 degree angle. The overlap joint will allow the material to contract during the winter months.
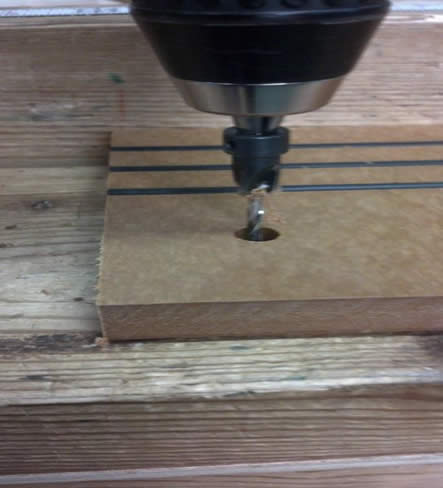
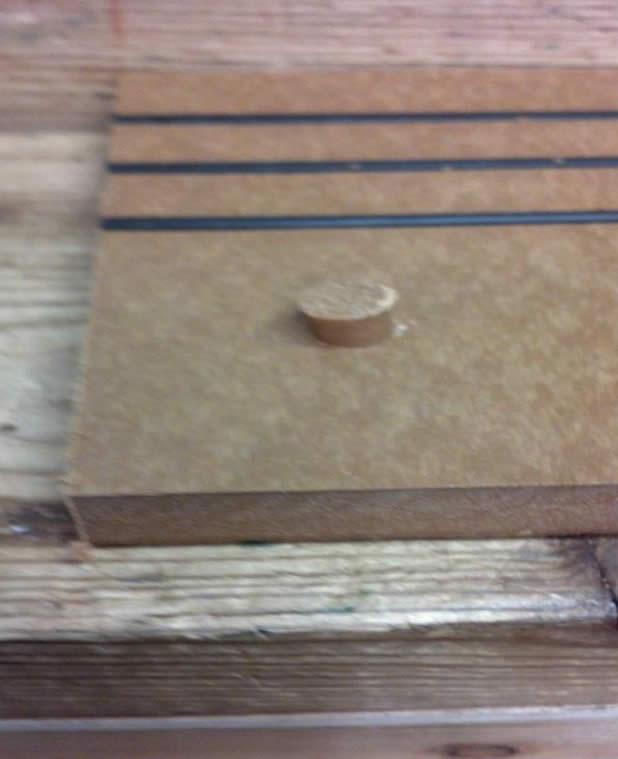
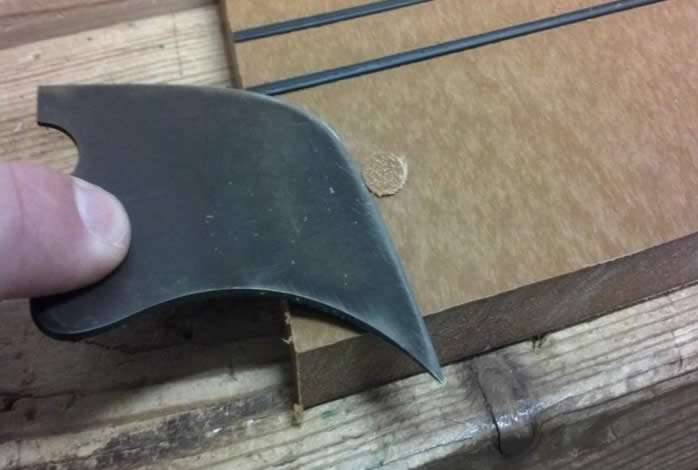
PLUGS/BUNGS – You can countersink and plug PlasTEAK. Our standard plugs sizes are ¼”, 3/8”, ½”, and 5/8”. Since PlasTeak is not able to be glued, we use tapered plugs. The plugs press in by hammering into the countersunk hole. You will then flush cut the head off with a razor, chisel, or similar tool. We use what we call a spatula knife, which
can be purchased on our PlasDeck website www.plasdeck.com. Once the head is cut off, we will take a small hand-held propane torch and quickly run the flame over the plug head. This will darken the plug head and blend it in with the PlasTEAK material. Note: White colored PlasTEAK will not need flamed. Below are some step-by-step pictures of plug installation.
Predrill and Countersink
Finished Hole

Place Tapered Plug Into Hole
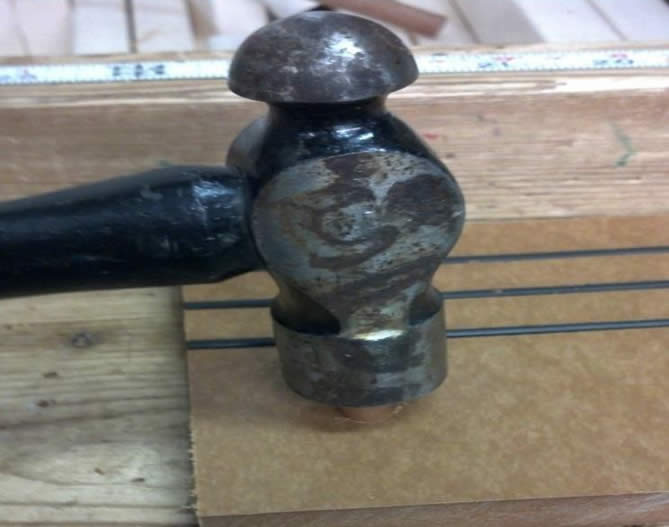
Hammer In Plug
Finish and Cut Head Off
QUICKLY Run Flame Over Plug

Done!